SELF INSTALLATION
A no mess sophisticated look in a single day.
01
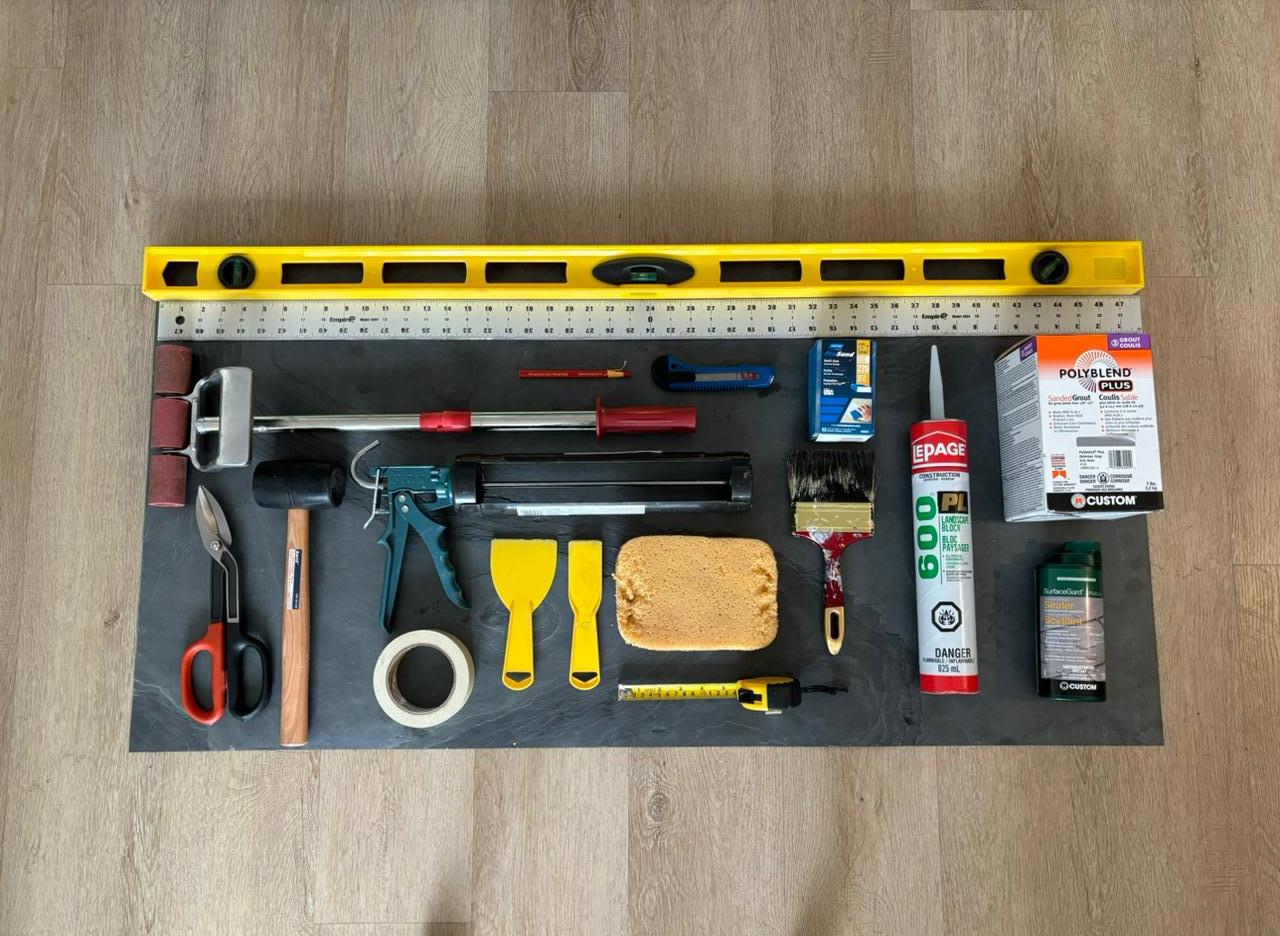
Required tools:
Tape measure
Tin snips
Masking tape
Paint brush
Applicator gun
Stone sealer
Broom/Cloth rag
Pressure roller
Rubber mallet
Sandpaper
Grout
Construction Adhesive ( 1 cartridge 825ml for approximately 4 sheets)
Cutters
Spatula
02
You must verify that the surface is:
Cleaned of
No cranked
The surface must be flat: dry wall, flat wood or plastered wall. It is important that the surface is clean and free of dust.
03
The stone sheet must be in perfect condition. No broken corners anywhere. It is important that the backside of the stone sheet is free of dirt and dust.
04
TIP: For a thick adhesive bead hold the nozzle slightly away from the sheet and then apply the PVA glue.
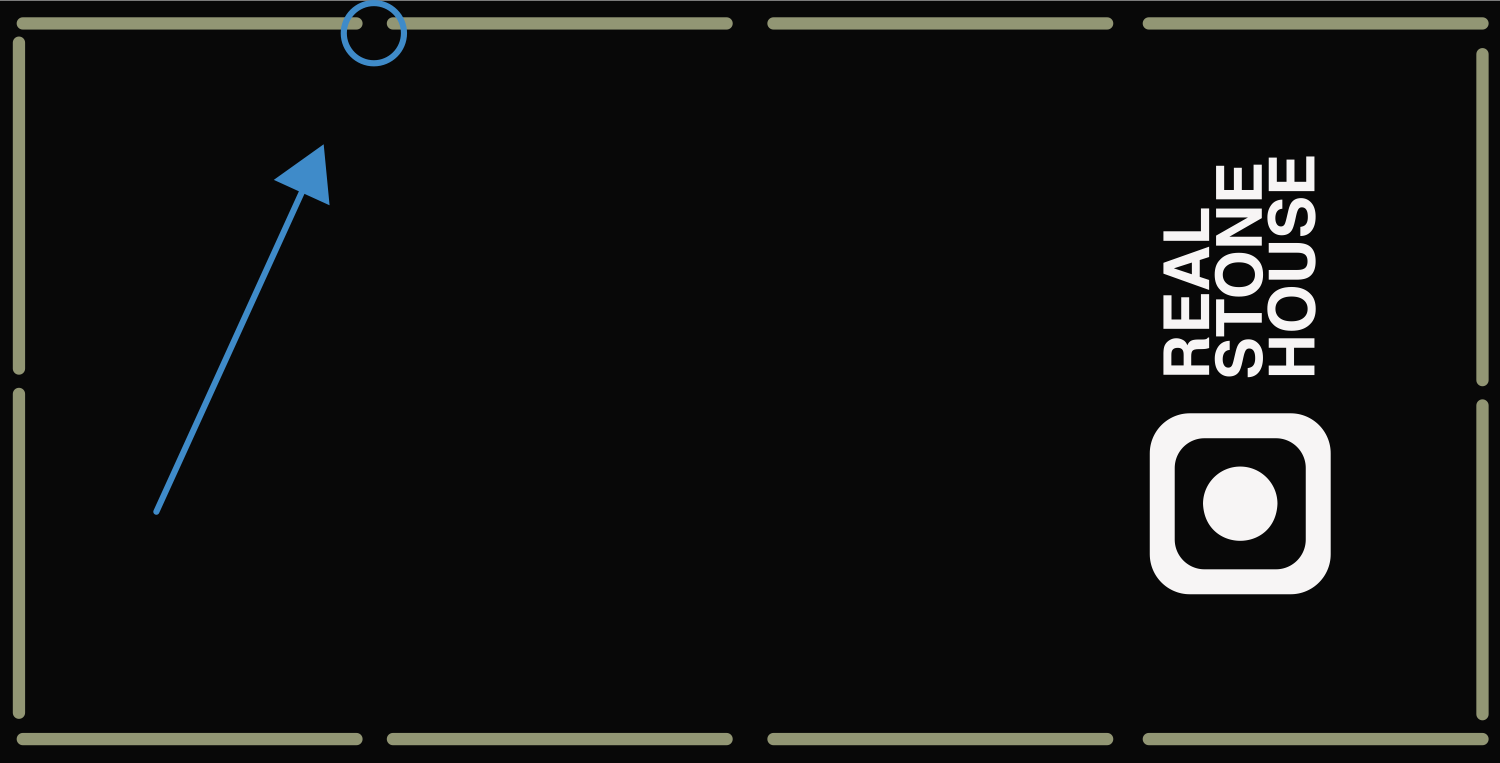
To open the adhesive cartridge make a diagonal cut approximately 1 centimeter below the top of the nozzle. This will make the adhesive lines thick enough to ensure better adhesion.
1. On the backside of the sheet and to ensure perfect adhesion apply a 3 to 5 millimeters thick adhesive bead along the outside perimeter (the thickness of the bead is very important for perfect adhesion). The glue should not be more than 1 to 1.5 centimeters from the edge of the sheet. This will prevent the glue from overflowing the edge.
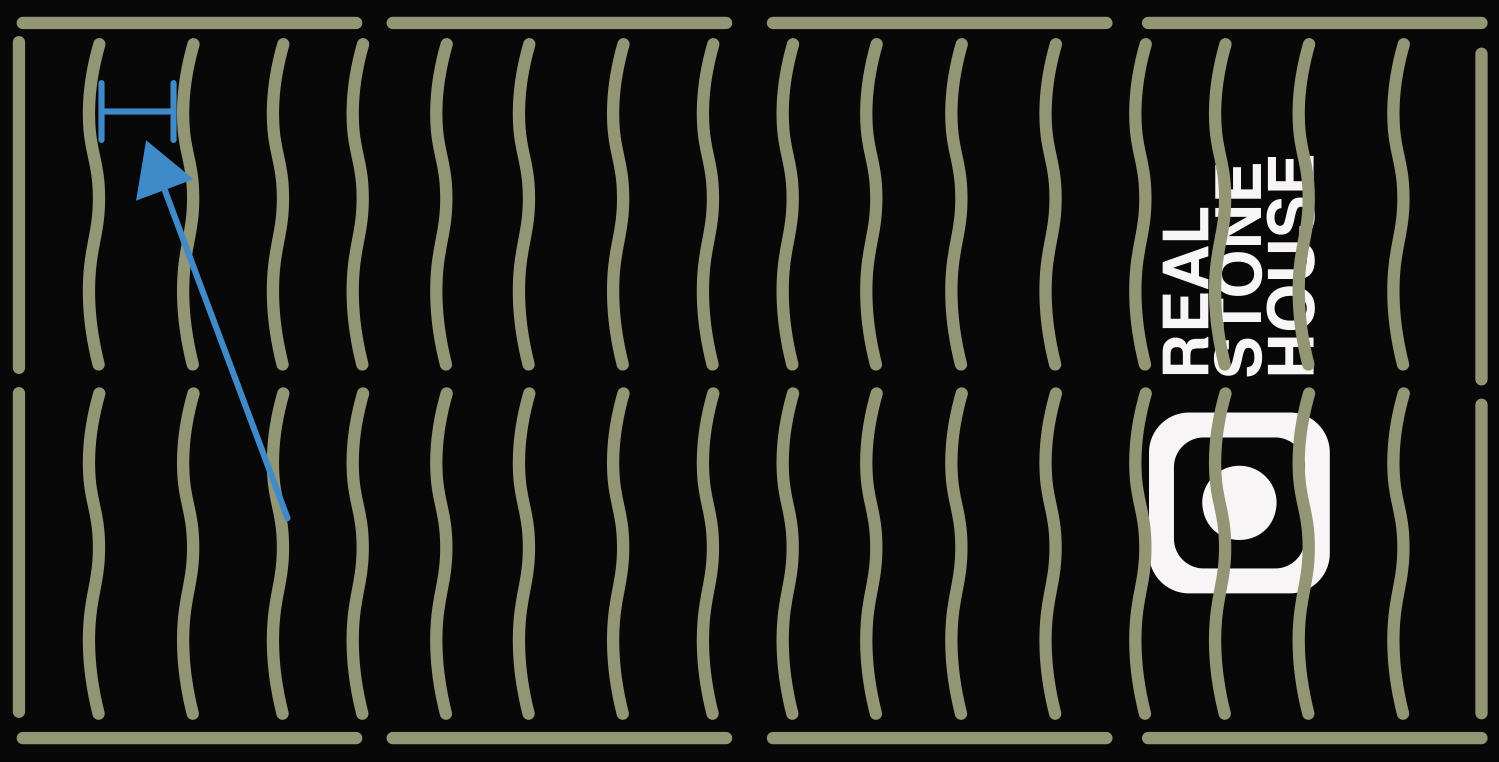
2. Apply construction adhesive breadthways on the sheet every 7 to 8 centimeters. Adhesive lines must also be 3 to 5 millimeters thick.
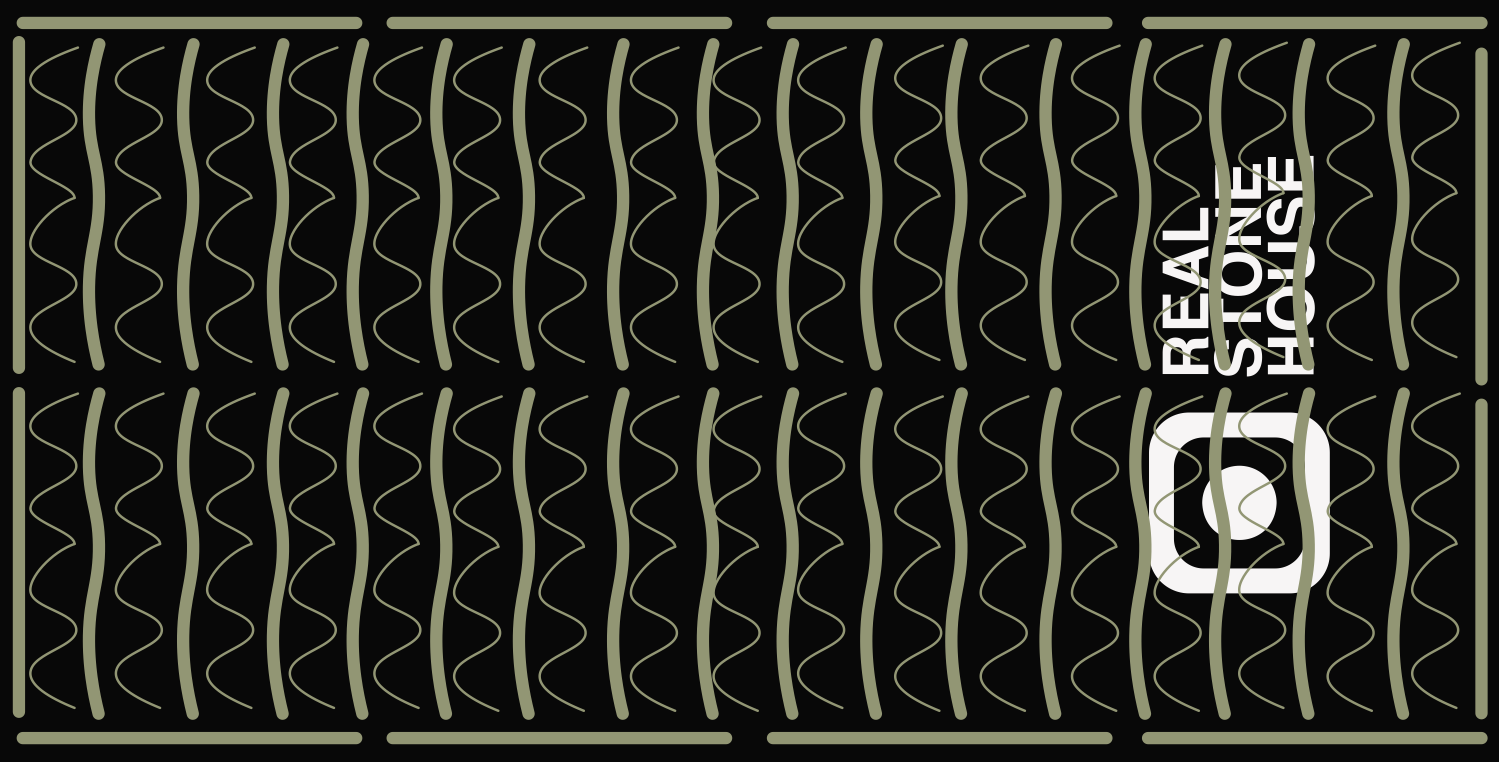
3. Apply glue doing zigzag lines between the adhesive spaces. These lines should have a thickness of 2 to 3 millimeters.
05
-
Carefully lift the sheet from the ends. Avoid touching the glue with your fingers as it could smear on the front side of the sheet making it very difficult to clean.
-
Apply the sheet to the surface and press with your hands to adhere.
-
Once the sheet is stuck to the surface using a rubber mallet tap gently without damaging the surface for further adhesion.
06
For this step we recommend using sanded grout. Prepare the grout by adding cool water and mix until you have a smooth paste-like consistency. Apply the grout to the joints with a spatula wait approximately 15 to 20 minutes until it is dry. Clean off the excess grout with a damp sponge. Begin this step at least 1 hour after all the stone sheets have been installed as this will give time for the adhesive to dry.
07
Wait 2 hours after applying the grout for it to completely dry. Then with a roller or paintbrush apply the stone sealer over the entire surface. If a stronger seal is preferred wait 2 hours and reapply a second coat of the stone sealer.
Cutting
Corners
Make sure that the sheet installed on the main face protrudes at the edge of the corners by 2 to 3 millimeters in order for the corners to marry up.
Stick the sheet on the other face matching them both.
To ensure the sheets do not move or separate while the adhesive dries, put masking tape where the sheets join together at the corners and leave for at least 20 minutes before removing the masking tape.
Once the adhesive dries remove the masking tape and sand the corners with sandpaper perpendicular to obtain a smooth finish. Sanding perpendicular prevents scratching the stone.
Applying grout to the corners will guarantee a perfect seal. If you do this step it is recommended you put masking tape along the joining edges before applying the grout. Wait 20 minutes until the grout is dry and then remove the masking tape and clean the excess grout with a damp cloth or sponge.
Need Help?
Don’t worry, we’re here to help anytime you need it.